It is common when developing a new website to need to access the new website under the primary domain name as it would be when live, or when a new site is live to be able to access the old version of the website.
This post demonstrates simple steps to achieve this by using the hosts file.
The hosts file is a simple text file on the local computer that the browser references to resolve IP addresses before requesting the IP address from the DNS servers. We can then add the domains that we want to override the hosts file.
Fortunately it is pretty simple – although you will need to get your hands a little bit dirty with the terminal.
Step 1 – Open Terminal
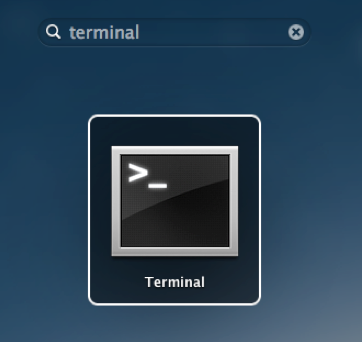
Open Launchpad and type Terminal.
Launchpad > type Terminal > click Terminal application
Step 2 – Open The Hosts File
Open the hosts by typing in the Terminal window that you have just opened:
| 1 | $ sudo nano /private/etc/hosts |
Type your user password when prompted.
Step 3 – Edit The Hosts File
The hosts file usually contains some comments (which you can identify by the lines starting with the # symbol), as well as some default domain/hostname mappings (e.g. 127.0.0.1 – localhost).
Using the arrow keys navigate to the bottom of the hosts file text and add your new host name mappings under the default ones.
Step 4 – Save The Hosts File
When you have finished adding to or editing the hosts file, press control + o to save the file.
Press enter on the file name prompt, and then control + x to exit the editor.
Step 5 – Flush The DNS Cache
Now it is best to flush the DNS cache to force your browser to request new IP addresses for the domain names. (If you forget this step you’ll need to close and re-open your browser before it will use any additions to the hosts file.)
To flush the DNS cache you can use a simple Terminal command which will mean your hosts file changes will take effect immediately:
| 1 | $ dscacheutil –flushcache |
Now test your newly mapped domain.
We'll shortly be posting on how to update the hosts file on Windows 7 and Windows 8. If you've got any queries, let us know via team@lexisclick.com.


